Friday, March 25, 2011

Daily Declutter Challenge #39 & #40 - Daily Double

My declutters are getting easier and easier - I managed to get two done today.  So here's a Daily Double!

My bedside table is mostly home to various yummy scented moisturizers, a prayer journal, and assorted tossed in items including a couple bookmarks.  I still haven't trained myself to use bookmarks though!

I had so many containers of half used lotions that were just tossed in there any which way.  I decided to keep them all, but mix them up together into just a couple containers.  It ended up smelling pretty yummy!  Less is more in this case.


Simple and functional - I like to sit on the edge of my bed and put lotion on before my socks, so it's better to keep all this stuff here rather than in my bathroom.

Now onto the bathroom!

I really can't believe I'm showing you this cabinet.  Eeek!  Transparency is very motivating!
 

If you're anything like me, most of the stuff under your cabinet gets forgotten about and barely used.  My daily stuff is on my open shelf and my makeup fits in a little bag on the counter.  I don't wear a lot of make up and I've gotten better at streamlining my products.  By the time you're in your late 30's you don't need 28 shades of eyeshadow and 14 lip colours.  At least I don't.  :-)

I even went through my big bag of nail polish and tossed all the ones that were getting gummy.  I'm sure some of them were over 10 years old!

I also collected up all the little bars of soap that we got from hotel rooms or other people had given to us (and we never use since we always have liquid hand soap!) and put them aside for another purpose.  I'll post on that tomorrow.....

Everything else went into baskets and containers and here is the end result!
 
If you're overwhelmed with all the stuff cluttering up your bathroom, here are some strategies I've learned over the years.

1.  Only keep on the counter items you use multiple times a day - soap, toothbrushes, maybe hairbrushes etc in storage tumblers or jars.

This multi-purpose storage tumbler is made from recycled glass.  Cool!
Recycled Glass Toothbrush Holder

This is a good idea- keep the toothbrushes mounted on the wall or in the medicine cabinet.
Hang Away Universal Toothbrush Holder (GID STYLE) with 3M Tape Backing 100% USA. Other styles available from SB Products Store Front on Amazon. To see more product pictures click here...


Here's a little something for the germ-a-phobe!
iTouchless UV Toothbrush Holder/Sanitizer
I loooove the style of this one!
America Retold Chemist Ivory Ceramic Toothbrush Holder

Anyway, I'm getting sidetracked - onto tip two!

2.  Keep in the medicine cabinet, drawers, or shelf items you use once a day - makeup, hair products, deodorants.  If you have a teeny bathroom like mine, an over the toilet cabinet  or shelf is a great space saver.
Ameriwood Bathroom Wall Cabinet in EspressoZenith 982CH Space Saver, Modern ClassicZenith Products 9107W Country Cottage Etagere Over-the-Toilet Shelving System, WhiteNassau Louvered Door SpacesaverWhite Finish Wood Commode With Storage Shelves And Glass Doors For Cupboard On TopBamboo Space Saver Cabinet in NaturalFieldcrest Wall Cabinet - White

3.  Keep under the sink or lower storage items you only use occasionally.  Pedastal sinks are obviously no good for this.  Who ever brought back pedastal sinks into fashion anyway?  I always wonder where do people put their stuff?

4.  Never use an item?  Toss it!!!!

This day was pretty easy....but I still have to face my bedroom closet.....

Thursday, March 24, 2011

Daily Declutter Challenge #38 - Scarves and Hats and Mittens...oh, my!

I'm grabbing hold of this thing called "Spring" that has arrived on the West Coast, and I decided to declutter our winter coats, hats, mitts, etc.  We arrived home from a 2 night getaway from Whistler yesterday, so after unpacking, I washed up all of our winter gear and then heaped it all in a pile in our mudroom/entrance.  Today it was time to decide what I should keep for next year (and hand me downs for my four year old to grow into) and what I could toss.  Everything needs to fit in a small front closet and a storage bench.

With no basement, garage or big storage area I always need to be thinking about how much I need to keep for the next year for my three kids.  I decided that with our mild west coast winters, they really only needed one toque each, one winter coat & ski pants, and I only kept a scarf for our youngest, since the big girls hate them and would rather freeze their chin off than be forced to wear one.

But I decided to keep most of the mittens and ski gloves, because you know how those things tend to get lost.  I keep all these items stored in our bench.

Here's the bench BEFORE:


 It's a great bench, but you can imagine the chaos when kids are looking for mittens.  I have been looking a long time for storage baskets or bins that would fit perfectly into the space, but nothing quite worked.  And not to mention that I really didn't want to be spending money on something that wasn't even going to be seen.

Do you know what I went with?  Repurposed cardboard boxes of course!  My husband subdivided a larger box by simply taping another piece in with packing tape.  Smaller spaces = better organization!

Don't you just love a perfect fit?

I also had an orange box that fit neatly as well - I used the lid and bottom.

Here is the end result!


Free, repurposed, and a perfect solution to early morning mitten woes.

My Dad built me our wonderful storage bench, but if you don't have a handyman in your family, there are some beautiful ones available.  A bench is such a great, functional piece of furniture for an entrance area.  Here's a few examples that would be perfect in a mudroom or at a front door.

Prepac Sonoma Black Twin Cubbie Bench (small)Covington Wengae Short Back Storage BenchBench with Storage Baskets - BlackWinsome Verona Storage Bench, Walnut with Beige BasketsHousehold Essentials ML-6688 Woven-Banana-Leaf 2-Drawer Cushioned Storage SeatKidKraft Nantucket Storage BenchMonterey Cubby Bench - White

I feel like I'm really making progress on my declutters.  I'll keep on going for a while, but once the warmer weather begins in earnest, I'll be spending most of my time enjoying the outdoors!  I'm sure by next winter, there will be more to declutter.....

Linked to:
Organizing Junkie

Wednesday, March 23, 2011

I Tried It - Homemade Orange Oil

A while back we had a box of big, juicy oranges that only took only about a week to go through. I remembered that orange oil comes from the peel, and it makes an amazing chemical-free household cleaning agent. I searched around, and it seemed most of the recipes online suggested this method.


1. Lay out your orange peels on a paper towel. Allow them to dry out until they are hard. This usually takes one or two days, depending on the humidity in your house. This process goes faster if you tear the orange peels into smaller one-inch pieces.


2.  Place the orange peels into a food processor with a sharp blade. Grind the peels to a coarse consistency. When they reach a course consistency, stop processing because over-processing can cause loss of oils from the peel. Place the ground peels into a clean glass mason jar with a tight fitting lid.

3.  Warm the alcohol. Place the bottle of vodka into a bowl filled with hot tap water. You want the vodka to be warm but not hot. Pour the vodka into the jar until it completely covers the orange peel.


4.  Screw on the lid and shake the jar. Shake it vigorously over a period of several minutes. Do this several times a day for at least two or three days. The more you shake it and the longer you leave the peels in the vodka, the more oil you will get.


This is what it looked like after a couple days.  Those orange peels soaked up most of the liquid.


5.  Strain the peels into a shallow dish using a strainer or better yet a coffee filter.


6.  Cover the dish with a kitchen towel. Be careful not to let the towel fall into the liquid. Let it sit for a few days: when the alcohol has evaporated, what remains will be orange oil.

Looks just like orange juice, doesn't it?  I wouldn't suggest drinking it though!
So.....I have a sneaky suspicion that this isn't quite right.  It doesn't seem to have a very "oily" feel to it. Hmmmmmm.  I tried using it as a 'de-gooper" like Goo Gone, but it didn't do much.  I'm sure I can use it as a fragrance in soaps, etc, but as far as it being a true essential oil, it seems to be missing the mark.

Plus, Vodka is expensive!  Man, I was shocked.  I think I'll just stick to buying orange oil from now on - in this case I'm leaving it to the experts.  Here's a few places to pick some up if you need any.


However, there are tons of other uses for orange peels!  I'm going to have to try these ones next time I get a case of oranges.
 - dried orange peels are flammable and smell great as kindling in the fireplace
  - A puree of orange peel and water spread around an outdoor barrier will prevent ants from crossing over.
  - Flies and mosquitoes will flee from an area with small piles of orange zest, so finely grate the rind and place it around your blanket at your next picnic.
 - Do you want cats to stop digging in your plants? Place dried peel around them. Cats hate the smell!
 - Orange peels are a great deodorizer. Put some at the bottom of your garbage cans.
- A piece of orange peel placed in a box of brown sugar will keep it from drying out.
- Use grated zest in baking.

My  homemade orange oil might not be as "pure" as a store bought essential oil, but I'm sure I can find some use for it.  And having the orange peels steeping in a mason jar over my kitchen sink was actually quite pretty.  Here's one more look!


Linked to:
giveaways

Daily Declutter Challenge #37 - Spring Yard Cleanup

Spring has arrived about a month later than usual on the West Coast, so we’ve been a little behind in our seasonal yard maintenance.  When a sunny Sunday afternoon comes along we needed to jump at it.  But everything can be an adventure, even spring clean up.  I have to say this counts as a Declutter, don't you?  I was highly motivated to get it done, since we were leaving on a little two night getaway for Spring Break.  This was a project for the whole family!

 Pruning trees is an excuse to use some power tools.


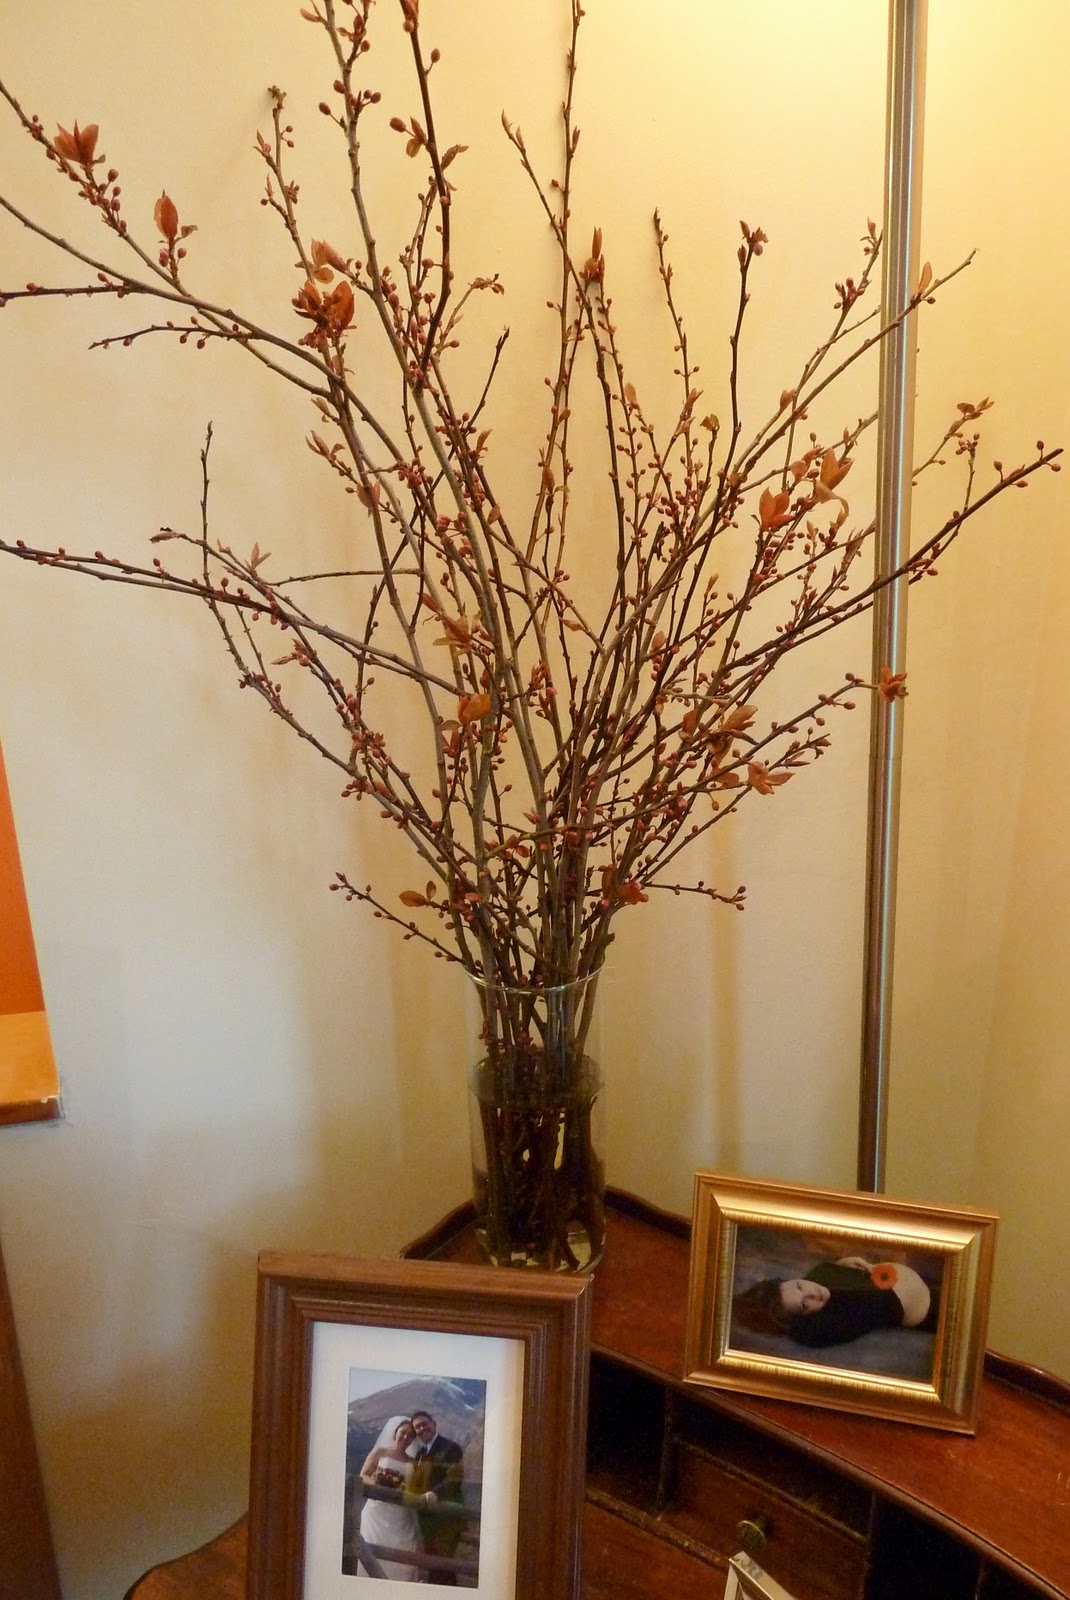
And branch cuttings make cheap, pretty arrangements.  I love bringing a little nature indoors!

Linked to:
Frugalicious Friday @ Finding Fabulous

Monday, March 21, 2011

"Still Waiting for Spring" Free Printables

It's been quite a long winter for West Coast standards.  It's been about a month later than usual for my crocuses to start popping up out of the ground, and we don't have cherry trees in bloom in the middle of February like we did last year during the Winter Olympics.  There's a few promising spring-like days here and there, but March has mostly been grey, chilly, and rainy.  Which makes this trio of printables from the talented Aimee from Sprik Space a great pick me up for my desk area.


I got the free "bee happy" printable here and the middle one from here.  Thanks for adding a bit of sunshine, Aimee!

Linking up!
Making the World Cuter Monday


Keeping It Simple

Sunday, March 20, 2011

Sunday Stew Special #6 - Irish Beef & Potato Stew

In honour of St Patty's Day just a few days ago, I decided to make an Irish Stew.  Here's the recipe I used.

Irish Beef and Potato Stew
  • 2 tablespoons olive oil
  • 3 tablespoons all-purpose flour
  • 2 pounds beef chuck, cut into 1 1/2-inch cubes
  • 1 pound carrots, peeled and cut into 1-inch chunks
  • 6 large potatoes, peeled and cut into large chunks
  • 1 white onion, cut into large chunks
  • 2 cloves garlic, minced
  • 1/2 tsp salt
  • 1/4 tsp pepper
  • 2 cups beef broth
  • 1 (6 ounce) can tomato paste
  • 1 (12 fluid ounce) can or bottle Irish stout beer (e.g. Guinness®)
  • 1 tablespoon cold water
  • 1 tablespoon cornstarch
  1. Heat the oil in a large skillet over medium heat. Toss beef cubes with flour to coat, then fry in the hot oil until browned. Place the carrots, potatoes, onion and garlic in a large slow cooker. Place the meat on top of the vegetables. Mix together the beef broth and tomato paste and pour into the slow cooker along with the beer.
  2. Cover and cook on High for 6 hours or Low for 8 hours. During the last hour before serving, dissolve the cornstarch in cold water and then stir into the broth. Simmer on the High setting for a few minutes to thicken. 
  3. Season with salt and pepper.

My husband was off to get his haircut yesterday morning and I asked him, "Oh, by the way, can you go to the liquor store and pick up a bottle of Guiness while you're out?"  "Uhhhhh...OK."  An unusual request from me, since neither of us drink, but he managed to find what the recipe called for.

It was late Saturday night that I realized I was out of carrots, so it became just a beef & potato stew.  Carrots for colour would have been nice, but it wasn't a deal breaker.

Here are the reviews from the Brownlee Test Kitchen!
12 yr old - The meat is sooo tender - I really like it.  Can I have some more?  You barely gave me any.
10 yr old -  It's alright, but I've never really had the desire to try ale.
4 yr old - Making a great shoulder shudder.  I don't like it.  It's too sour.
Husband - It's good.  The meat is tender, but the gravy is a bit sour.  Salt and pepper helps.
Guest (starving student intern from the college we had over for lunch) - It's better than what I would be eating at the cafeteria.  I'm not picky.  I don't have a very refined palate.  (Ummmm......I think that's a compliment?.....)
The Cook -The meat is amazingly tender, but I agree.  The sauce has a sour tang that I'm not keen on.  I guess I wouldn't make a good very good irish beer drinker.

Final vote - Three thumbs up, three down.  Maybe I'll make it again next St Patrick's Day.  Unless there are better irish stew recipes out there.  I'd love to hear if you have any!

P.S  One of my favourite parts of this meal though was the sourdough bread we enjoyed with our stew.  Have you ever seen flour stencilling?  Love it!

Saturday, March 19, 2011

Daily Declutter Challenge # 36 - Freedom from the Unfinished

I admit it.  I love to try lots of new things and bounce from hobby to hobby, but that leaves me with one problem.  I tend to have a lot of half-finished projects sitting around.  Maybe that's part of being a "Clueless Crafter".  But I'm trying really hard to develop more discipline in this area, and blogging certainly helps.  It's not really interesting to write about good intentions.

In my decluttering I came across not one, not two, but THREE half finished cross stitch projects.  My mother in law is the most amazing cross-stitcher, and she taught me how to do it about 12 years ago.  It's remarkably easy!  It's simply making little x stitches on small fabric following a guide for the colours.  It's relaxing and rewarding.  But it does require patience and discipline to finish; they just aren't worth framing and displaying when they are half done.

I'm not sure why I had three started and not finished, you'd think I'd have the wisdom not to get going on another when there was already one needing my attention.  I think I had made some errors in them and didn't have the heart to go back and rip the stitches out and start over.  So there they sat, cluttering up much needed drawer space, silently mocking me for over ten years.  Seriously.  I haven't worked on them in ten years!  So I did a bold thing...I tossed them.

I didn't take a picture of them, since I had to be fast in my decision to give them the boot.  I did not want to have a chance to second guess myself.  Goodbye items in my home that hang over my head in guilt and condemnation....I'm onto something new!